Apply Custom Texture on your Photos
We all know that PowerPoint 2010 and 2013 versions allow you to apply artistic effects to your photos. So, your can spice up your plain boring photos into textured pictures like this:
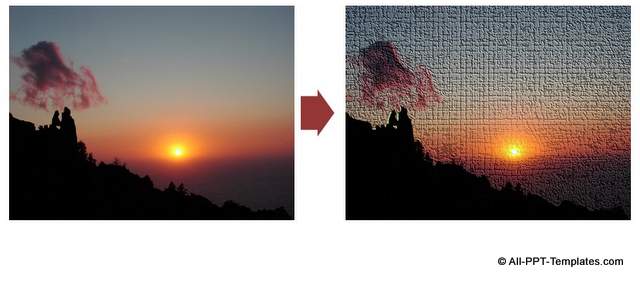
You can use the effect to make your title slides interesting.
What if you want to add your own custom textures to your photos apart from the presets given by PowerPoint? What if you want to add these custom textures even though you use the 2007 version of PowerPoint?
In this article you will learn to add Custom textures on your photos in a step by step way.
Step 1: Insert the picture on your slide
Go to the ‘Insert’ tab on your PowerPoint ribbon and insert the picture you want to apply textured effect to.
 Original Photo with Effect
Step 2: Cover it with a rectangle and apply texture
Go to Auto shapes menu. Using the ‘Rectangle’ tool draw a large rectangle that covers the entire photo. Remove outline.

Right click on the rectangle and go to Format Shape -> Fill.
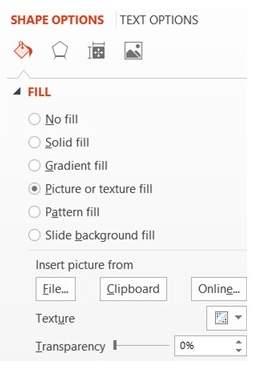
Choose ‘Picture or texture fill’ option to choose a texture image from your file. Or choose a texture from one of the presets available in PowerPoint. We chose ‘Denim’ texture.
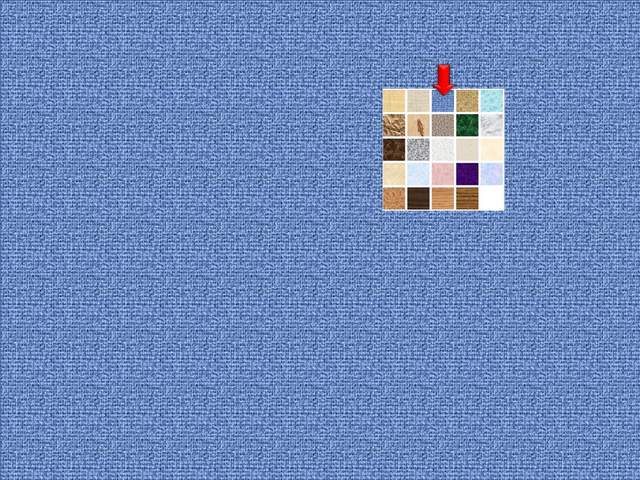
Step 3: Increase the transparency of the texture
Go to ‘Transparency’ slider and increase the transparency of the texture fill to 40%.
 Set Transparency
The photo at the background will show through with a nice texture on top. Now, your photo looks like it is printed on denim cloth as shown below:
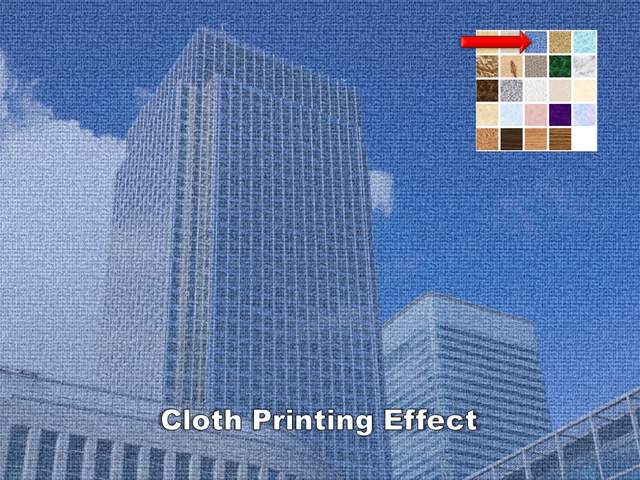
You can choose different textures to get different effects. For example, choosing ‘Paper Bag’ texture makes your photo look like it is crumpled up.
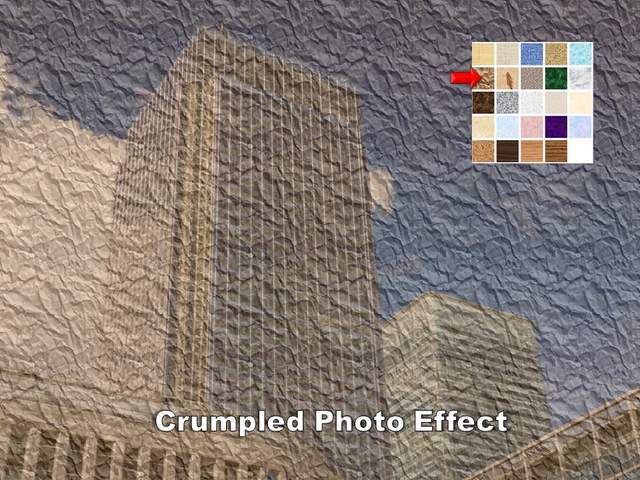
Choosing ‘Water droplets’ texture makes your photo look like you are seeing the picture through a glass window wet with rain drops.
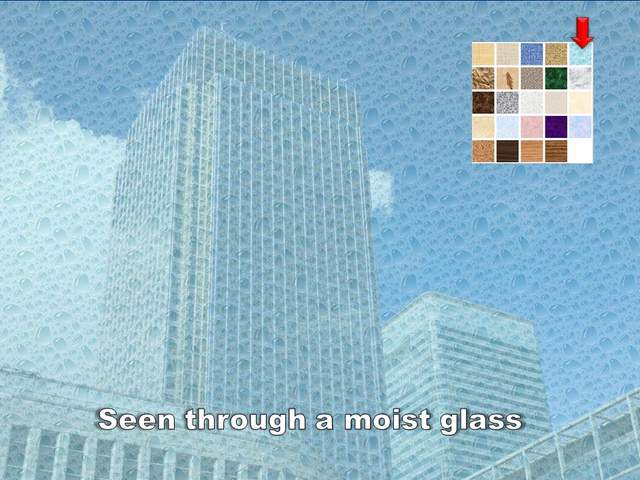
The technique allows you to apply some amazing texture effects to take your images to a whole new level.
Another way to impress your audience:
Using nice looking banners on your website or on your eLearning platforms is one way to impress your audience. Another way to impress them is to use high quality graphics and diagrams for your business presentations.
However, it takes a lot of time and effort
to create professional quality business graphics from scratch. That is why we came
up with our PowerPoint Essential charts collection for busy
business presenters like you.
All the templates in our collection are fully editable. Just choose the template that matches your thought and replace the sample text with your own text. Your business slides get ready in no time. Why waste time creating your graphics and diagrams from scratch, when you have such a high quality solution readily available?
( Yes the following banner is created in PowerPoint too.)
We hope you found this article useful. If so, please share this article with your friends and leave your comments below
Related Posts
Top of Page : Custom Texture on Photos
Main PowerPoint Tutorials Page


New! Comments
Leave me a comment in the box below.