Understanding PowerPoint Distance from Ground for 3D
In this part of the 3D tutorial series you will learn how to use the PowerPoint Distance from Ground option. The option helps in positioning your 3D objects easily. In this article you will find how to create stairs as an example to help you understand this concept better.
‘Distance from Ground’ is one of the options in Shape Format > 3D Rotation pane. As the name suggests the option adds space between a shape and its background. This is quite useful to create diagrams like 3D stairs, Step pyramid diagram etc.
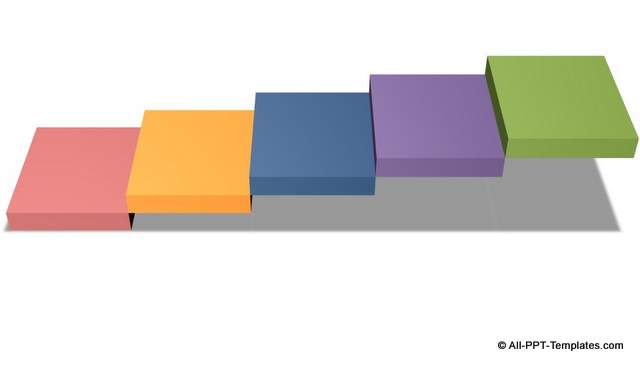
We will understand the concept much better when we create a diagram using the option. The diagram we will create is:
To start creating this diagram...
Create the rectangular blocks:
Go to Auto shapes menu and use the ‘Rectangle’ tool to create a rectangular block. Make 4 more copies and arrange them next to each other as shown below. I have colored the blocks differently for easy identification:
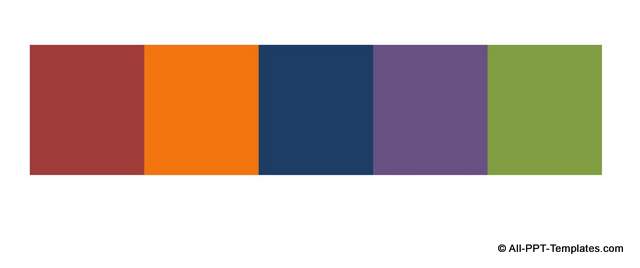
Once you arrange the blocks, select them all and group them using Ctrl + G or Right Click and Group option. This step of grouping is very important and we will show why shortly.
Add 3D perspective:
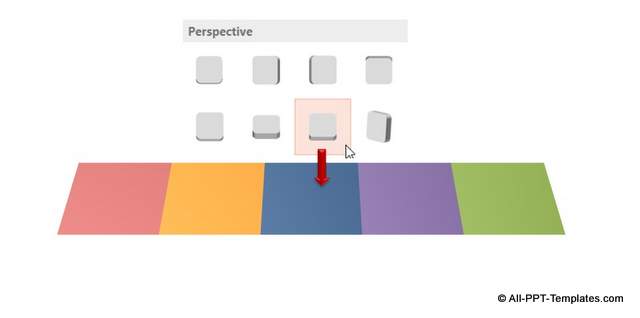
Right click on the group and go to Format shape option. Go to 3D Rotation and select the preset called ‘Perspective relaxed’ under ‘Perspective’ option. You will get the following result:
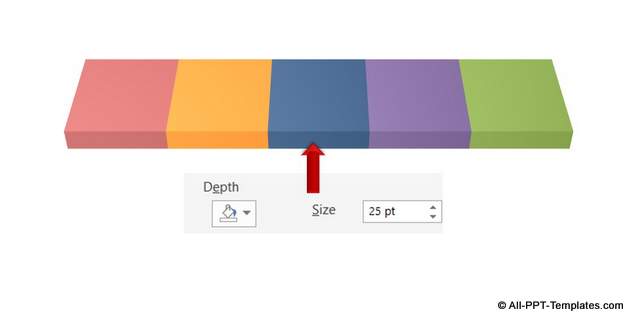
Go to 3D format option and set a depth of 25pts. This makes the base for the 3D steps. You can learn more about using the bevel and depth options here.
We mentioned earlier about the importance of grouping the rectangles before applying perspective and depth. If 3D shapes are created separately and placed on top of each other, they may not look even. As you can see from the example below the steps are distributed unevenly:
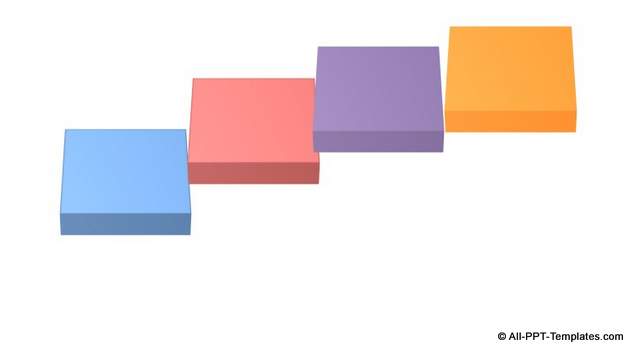
If you group the objects before applying perspective you can avoid this issue. Once you group the objects though, you cannot layer them in the form of steps. In such cases, then the distance to ground options ensures that the diagram is created correctly.
Add PowerPoint distance from ground:
Now, it is time to create the steps. Click on the second block that is orange in color. Since all the blocks are grouped together, you may need to click twice to make sure that only the orange block is selected. Go to 3D rotation pane and add distance from ground of 25 pt.

The reason why we added 25pt is – the depth of the red block is 25pt. So, if we want the orange block to go above that we need to add a distance of 25pt from the ground. The same way, to lift the next blue block up above the orange block we need to add a distance of (25pt for red block + 25pt for orange block) 50pt and so on.
Here is how we built the 3D steps using Distance from Ground option:
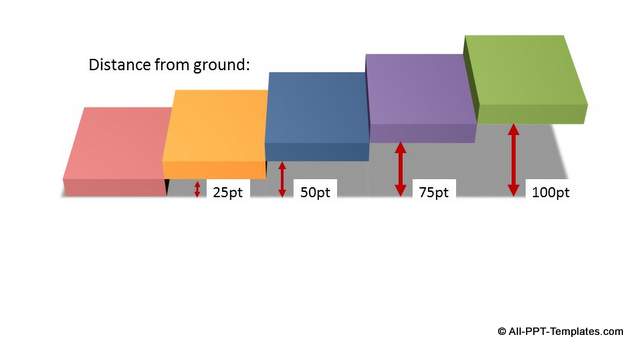
We added the shadow to make the diagram look grounded and realistic. As you can see, the 3D object has a certain perspective.
Try experimenting with the option by grouping different objects and adding some distance from ground. Here is a steps diagram created with callouts that uses the same options covered in this tutorial:
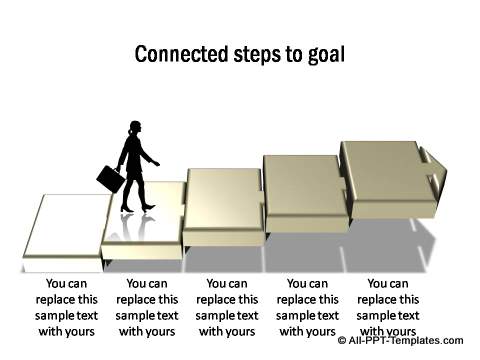
Source : Steps diagram from All Inclusive Pack
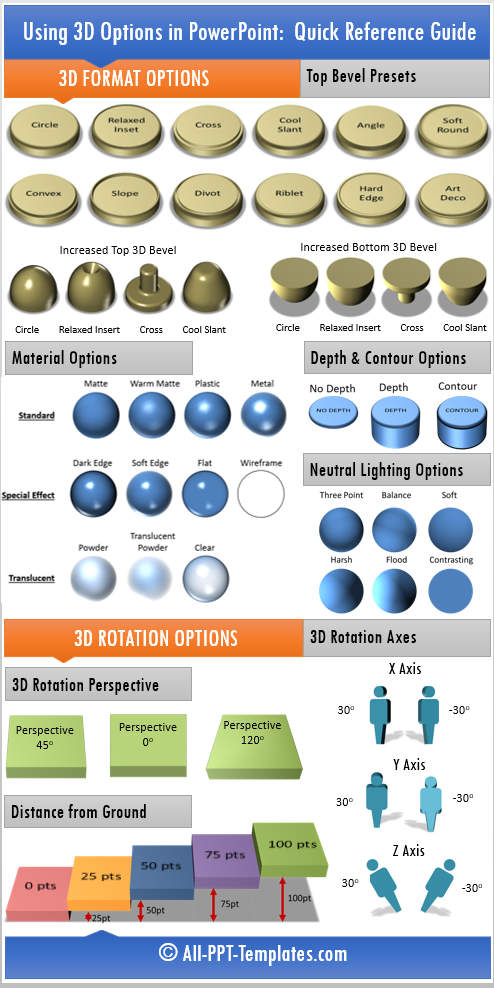
Quick Help Guide Infographic for 3D options in PowerPoint
To make it easy for you to find which 3D option to use when you are creating a 3D diagram in PowerPoint, we'd like to share this useful infographic. It summarizes the contents of the article you have just read and provides a quick reference guide. Just right click on the infographic and Save Image As... to save the helpful guide to your desktop.
Below are some creative examples of how 3D diagrams can be created by using Distance from ground option.
All the examples below are taken from our All Inclusive Charts and Diagrams Pack for PowerPoint. The pack has 1900+ ready to use charts, diagrams. models, concepts, infographics, background themes and more for business presentations.
You can browse the templates and learn more about the pack here.
Examples of using Distance from Ground in Diagrams
1. 2 steps of steps meeting in the middle
In the following diagram you can see how 2 sets of steps moving from the opposite direction meets in the center to create a useful concept diagram:
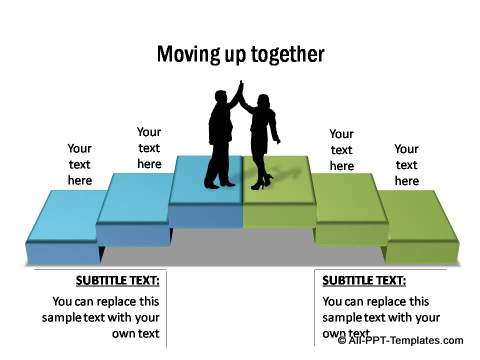
Source: All Inclusive Charts Pack : Steps
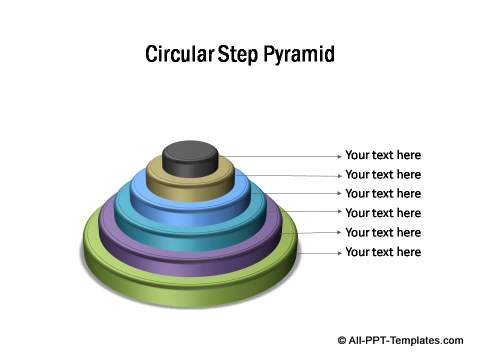
2. Circular step pyramid
The following step pyramid diagram is created with the tools taught in this video. The pyramid can be used to show hierarchy, stages in a linear process, reaching number 1, concept of moving up in the career etc.
Source: All Inclusive Charts Pack : Steps
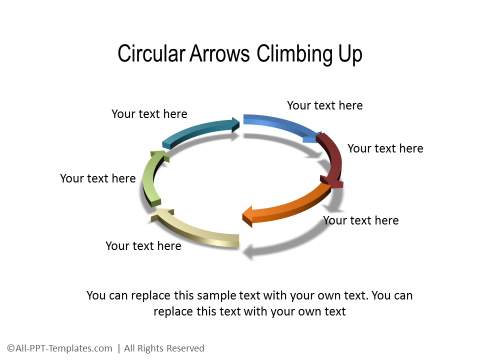
3. Circular arrows climbing up
Apart from steps and stages, you can also apply the Distance from Ground option to circular arrows. As can be seen from the diagram below, it can represent the concept of climbing up in a circular movement.
Source: 3D Circle diagrams from All Inclusive Charts Pack
We hope you found the tutorial and examples useful and can apply the learning to your next presentation.
Related Posts
Top of Page : PowerPoint Distance from Ground
Main PowerPoint Tutorials Page


New! Comments
Leave me a comment in the box below.