Create Custom Slideshows in PowerPoint
In this article you will learn how to set up custom Slideshows in PowerPoint. This feature helps you create multiple shorter versions of the original file for different presentation requirements.
Presentations do not always go as planned. Sometimes you may get less time to present your information due to reasons like – the previous speaker overshot the allotted time. Some other times you may get much more time than you anticipated and you don’t have enough content on hand.
In such situations, you wish you had the option to have two versions of your slide set. A shorter version that covers just the key points, and a longer version that includes details of the points. Now, PowerPoint answers your wish with Custom Slideshows option. In this article, we will see how to set up custom slideshows for your presentation slide deck.
What is a custom slideshow?
Let us say you have 7 slides in your set. When you are pressed for time, you use the shorter version of your set with just 4 slides. When you have more time, you use the longer version with six slides.
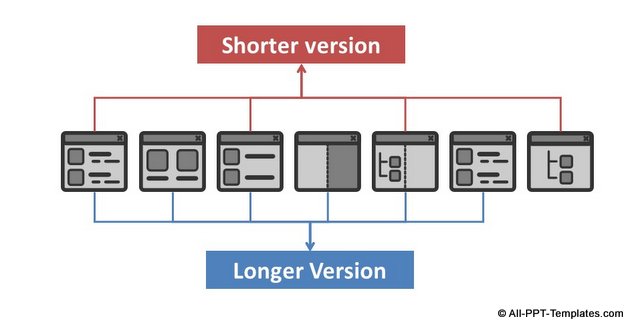 Example of Custom Slideshow
This ability to select specific slides to create a show from a larger collection of slides is called custom slideshow.
Creation custom slideshow step by step:
Let us say our Master set has 51 slides. Go to ‘Slideshow’ tab in PowerPoint ribbon. Go to ‘Custom Slideshow’
 Steps to Custom Slideshow
When you click on ‘custom shows’, the following dialog box opens up. Click on the ‘New’ button to name the custom show.
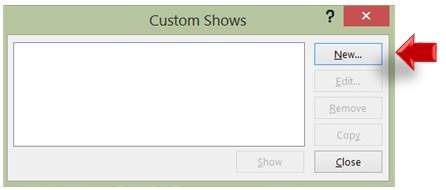 Add New Slideshow
You enter a name for ‘Slideshow Name’. We named our custom show as ‘Shorter Version’. The menu on the left shows the list of slides in presentation. Check the ones you want to include in the shorter version and click on ‘Add’. This moves the selected slides to custom show.
You can rearrange the slides in custom show or remove some of them:
 Select and Rearrage Slides in Show
Once you are done, you can close the dialog box. Now, when you go to ‘Custom Slideshow’ drop down menu, you can see the ‘Shorter version’ of your slideshow, available as an option.
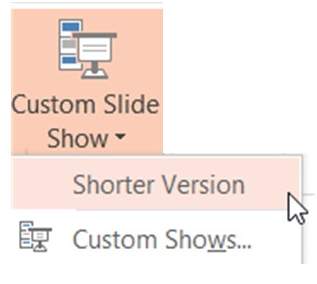
When you click on ‘Shorter version’, the presentation opens in slideshow mode with just the slides in the custom show.
Editing Custom Slideshow:
You can always edit the custom show you created. To edit, go to Custom shows option. The following dialog box opens up.
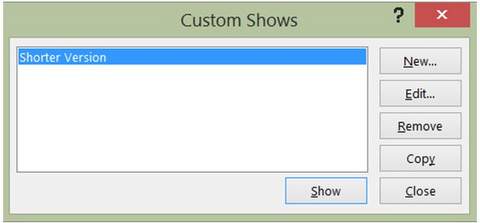
Click on the ‘Edit’ button to add or remove
slides in the custom show. You can choose to remove the show by clicking on
‘Remove’ button. You can also make a copy of the custom show, make alterations
and save it under a different name. So, you have total flexibility to make your
custom show just the way you want.
Note: Just remember to save the original PowerPoint file so that the custom show is saved. You can access the presentation version under the Custom Slideshow option anytime.
The option of ‘Custom Slideshow’ allows you to customize your message to suit specific audience segment. It is one way to impress your business audience. Another way to impress them is to use high quality graphics and diagrams for your business presentations.
However, it takes a lot of time to create professional quality graphics and diagrams from scratch. That is why we came up with our PowerPoint chart templates collection for busy business presenters like you. Just choose the template that matches your thought and replace the sample text with your own text. Your business slides get ready in no time. Creating professional quality business slides has never been easier.
This is how you can create your own slideshow in PowerPoint. I hope you found this tutorial useful. You can find many more such PowerPoint tricks in our tutorials section.
Please do share your comments below if you found this tutorial useful.
Related Posts
Top of Page : Custom Slideshows in PowerPoint
Main PowerPoint Tutorials Page
